
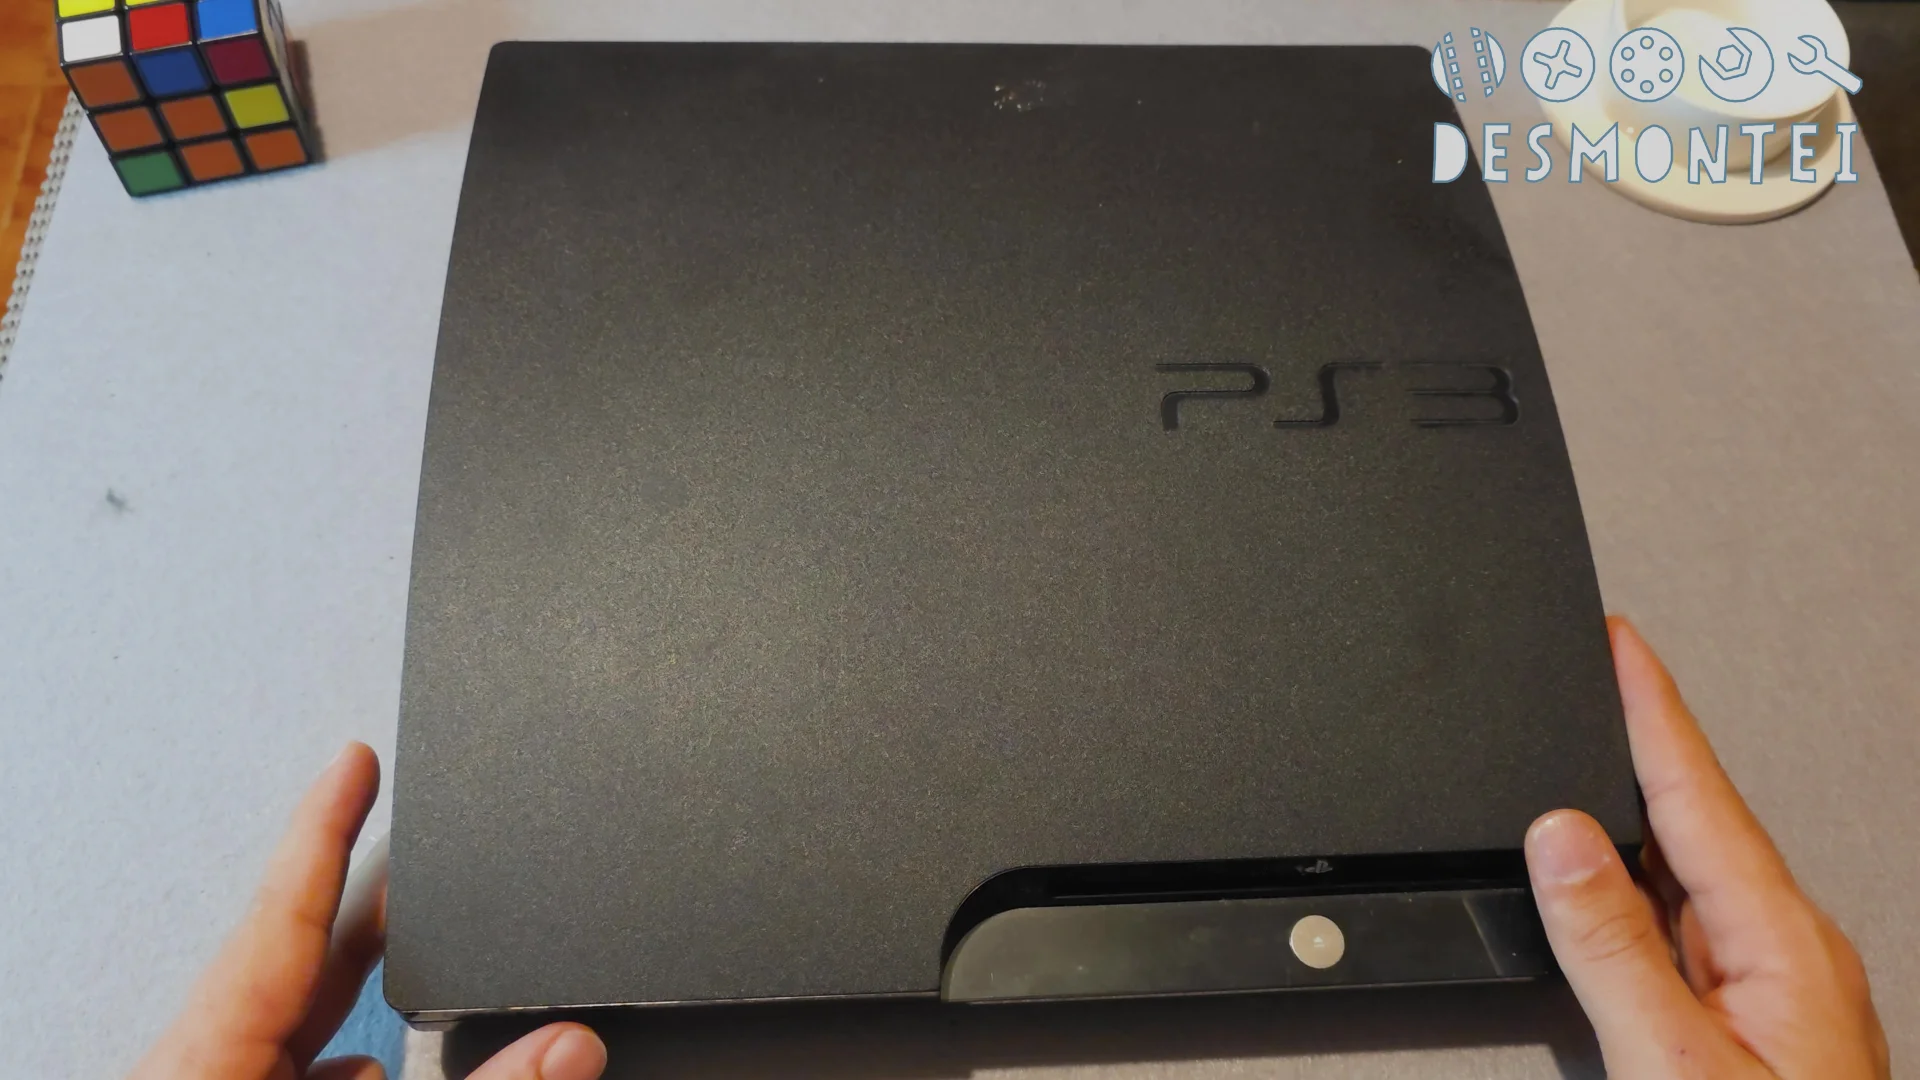
If your PS3 Slim won’t read discs, you are in the right place. On the Desmontei workbench, we don’t accept a console becoming e-waste without a fight. We got this PlayStation 3 as a freebie after a move, and the diagnosis is a classic: it turns on, boots the system, but when it’s time to run a game, the loading icon freezes and nothing happens.
In this technical guide, we will do a complete teardown, using every detail of our disassembly so you can learn how to open the console, diagnose the defect, and try to save the optical drive (Blu-ray laser lens).
🛠️ Required Tools (Don’t be a “butcher”!)
Before we start, understand this: Sony put security locks in place so you wouldn’t mess around in here. Trying to open it with just any screwdriver (or worse, a knife!) will strip the screws and turn your console into a paperweight.
What we use on our workbench to avoid headaches:
- 🔩 Torx T8 Security Screwdriver (with hole): Essential for the warranty seal and the outer shell screws.
- ➕ Phillips PH0 and PH1 Screwdrivers: For internal components, power supply, and the Blu-ray drive.
- 💳 Nylon Spudger/Prying Tool: To release the clips without “chewing up” the plastic shell.
- 🧪 99% Isopropyl Alcohol: The only one allowed for electronics cleaning, especially on the optical lens.
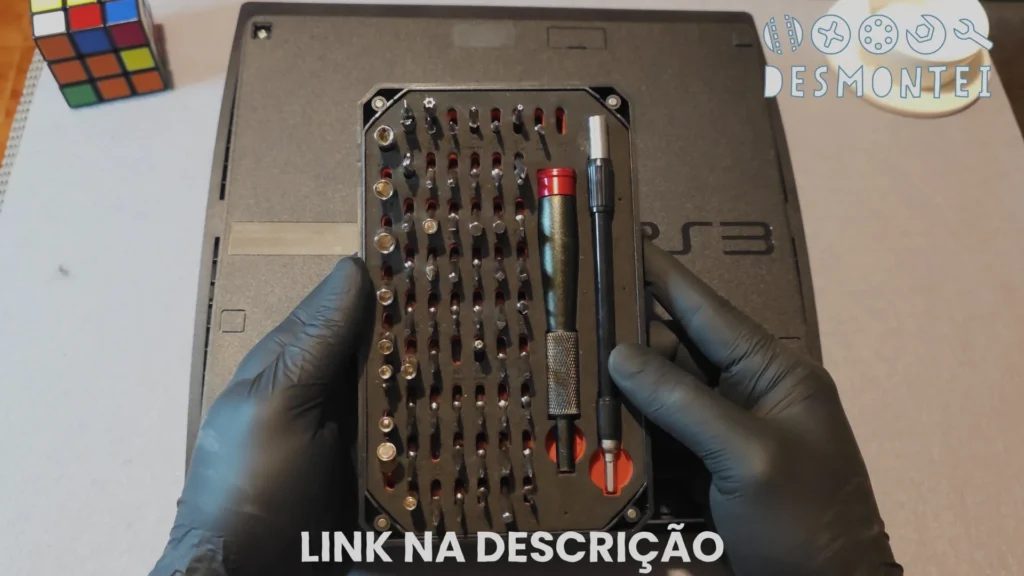
💡 Workbench Tip: Want the freedom to fix your stuff without getting angry and without ruining parts? I do all this using my Precision Screwdriver Kit from Shopee (or the Mercado Livre version if you’re in a hurry). It’s a lifelong investment!
Step 1: Opening the Top Shell
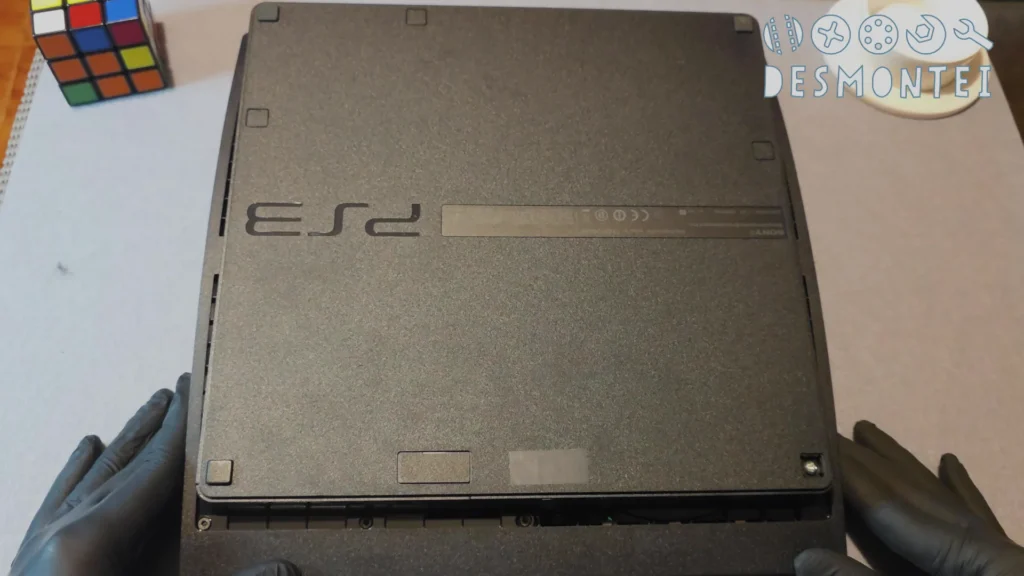
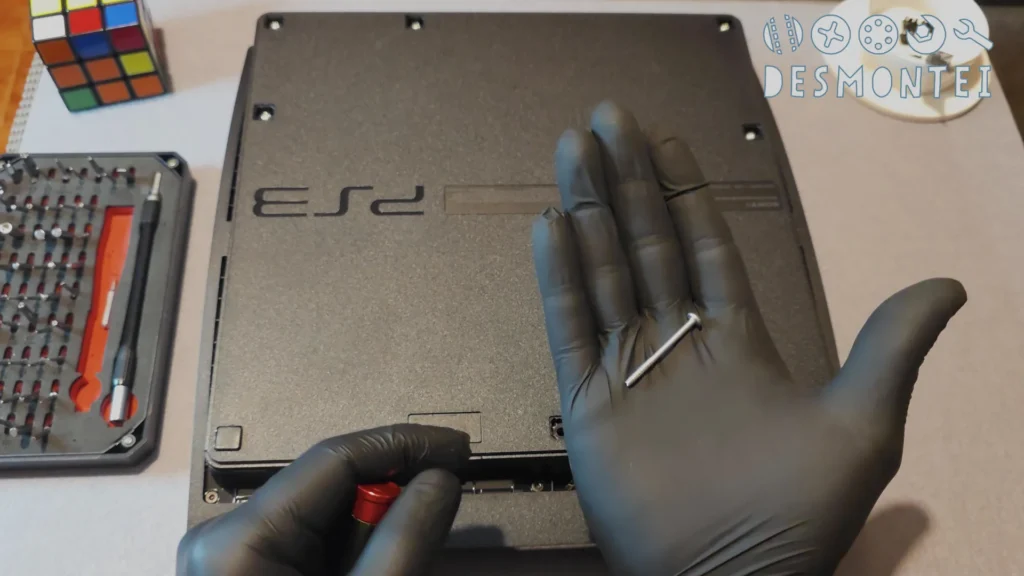
The process starts at the bottom of the console. You need to remove the rubber feet and the square plastic covers that hide the main screws.
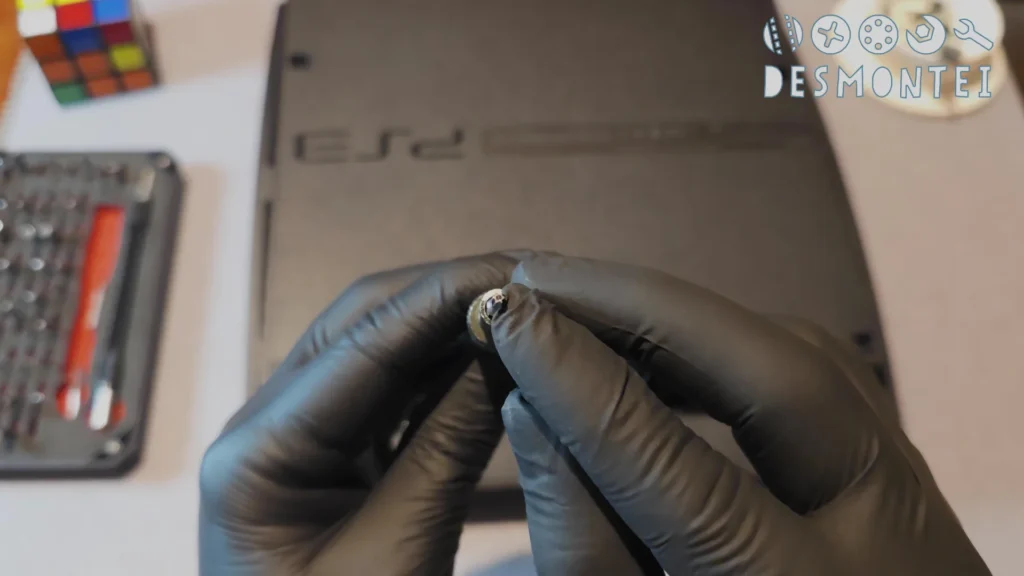
After removing the Torx security screws, the top cover comes off with a gentle prying motion. Never force it; if it doesn’t come off, there’s a hidden screw (usually under the HDD cover).
Step 2: The Flawless Interior (A Surprise!)
Upon removing the cover, we got access to the vital components: the massive power supply unit (PSU) and the cooling assembly.
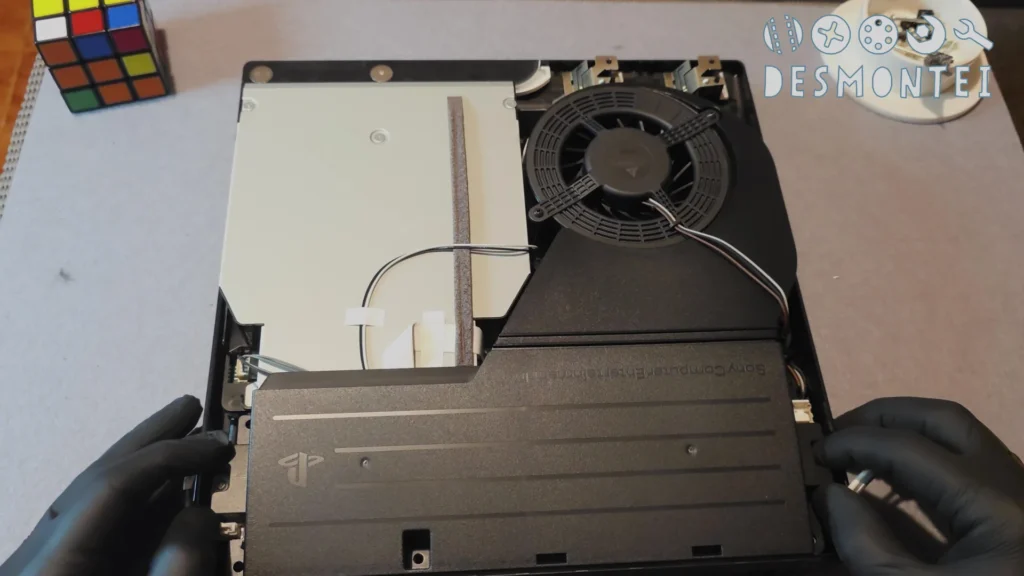
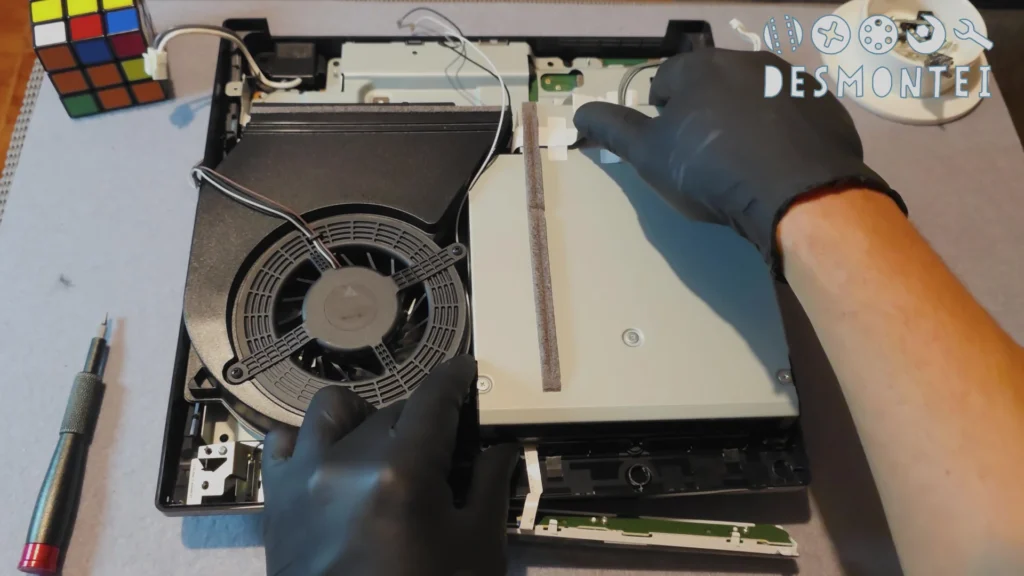
Unlike the vast majority of consoles that arrive on the workbench (which look like they’ve been through a sandstorm), this PS3 was impeccably clean. The cooling fan and the metal shields showed absolutely no signs of dust buildup.
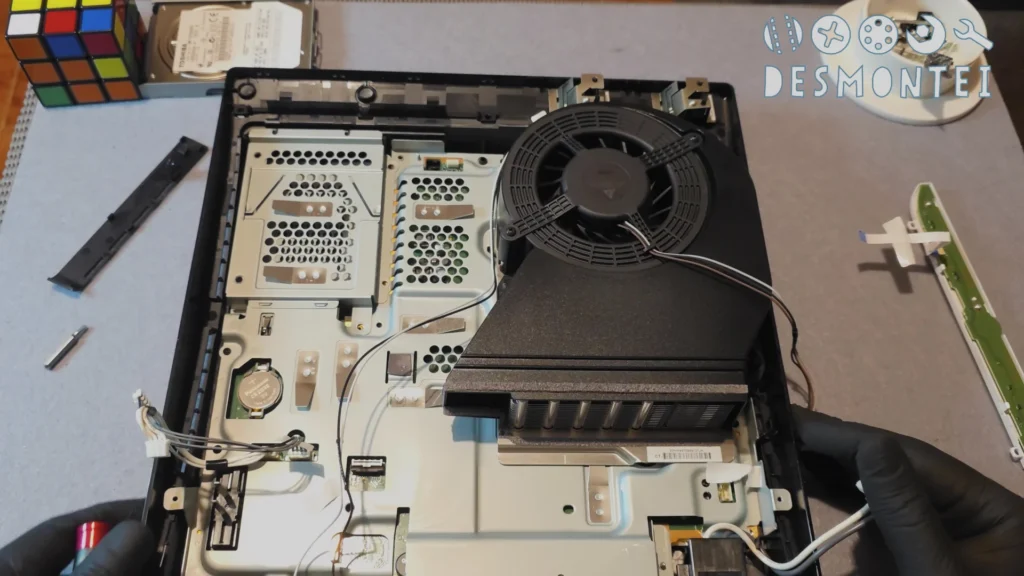
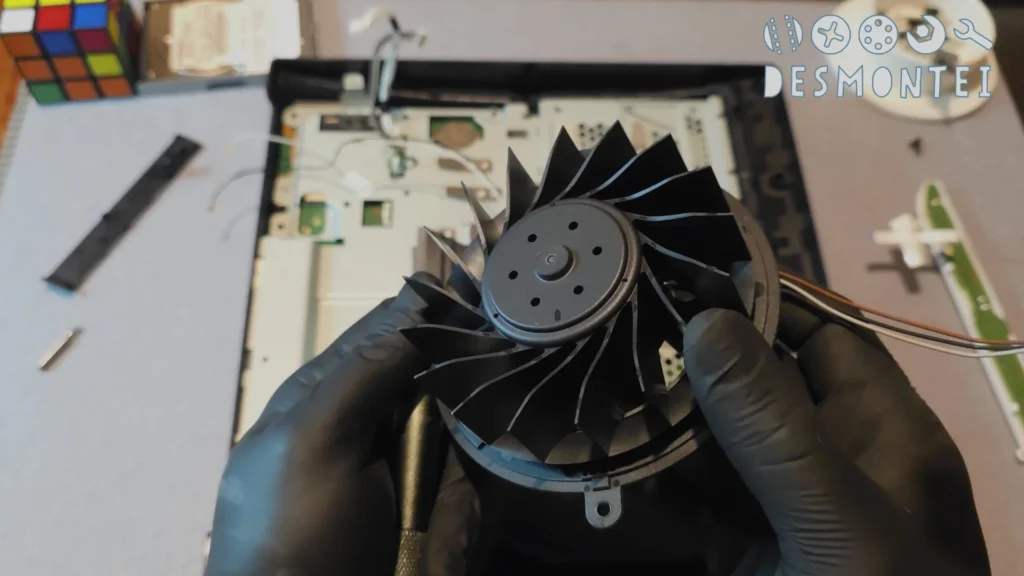
My technical analysis: In the repair world, seeing a console this clean is a huge red flag. When a PS3 Slim won’t read discs and the interior is spotless, the chances of the problem being a deep mechanical failure or a totally burned-out laser diode increase drastically. It’s not just a “dirty lens”.
Step 3: Disassembling the Blu-ray Drive (The Culprit)
The next step is to isolate the disc drive. It’s the real one responsible for the failure. The drive is connected to the motherboard by ultra-thin ribbon cables and a power connector.
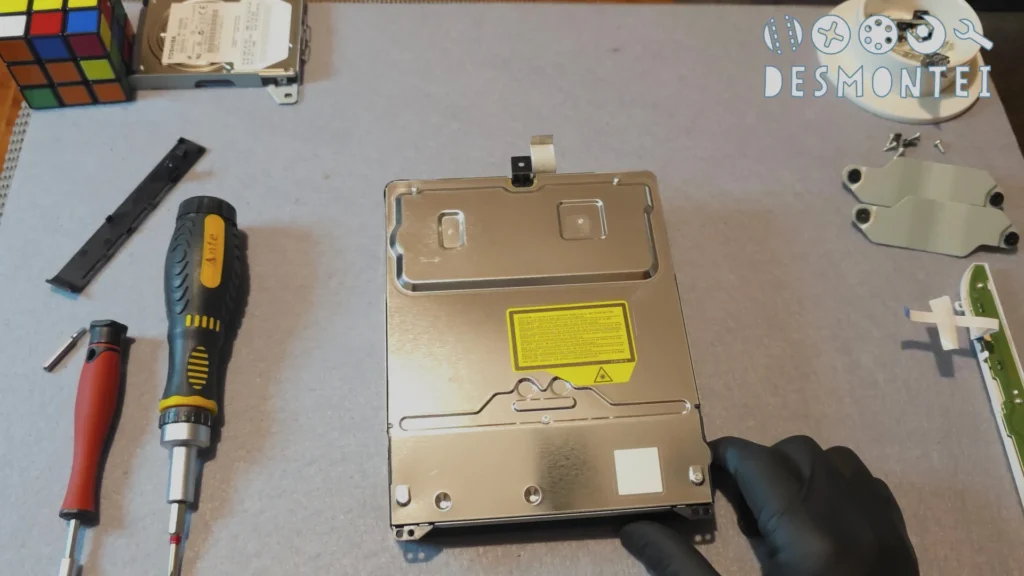
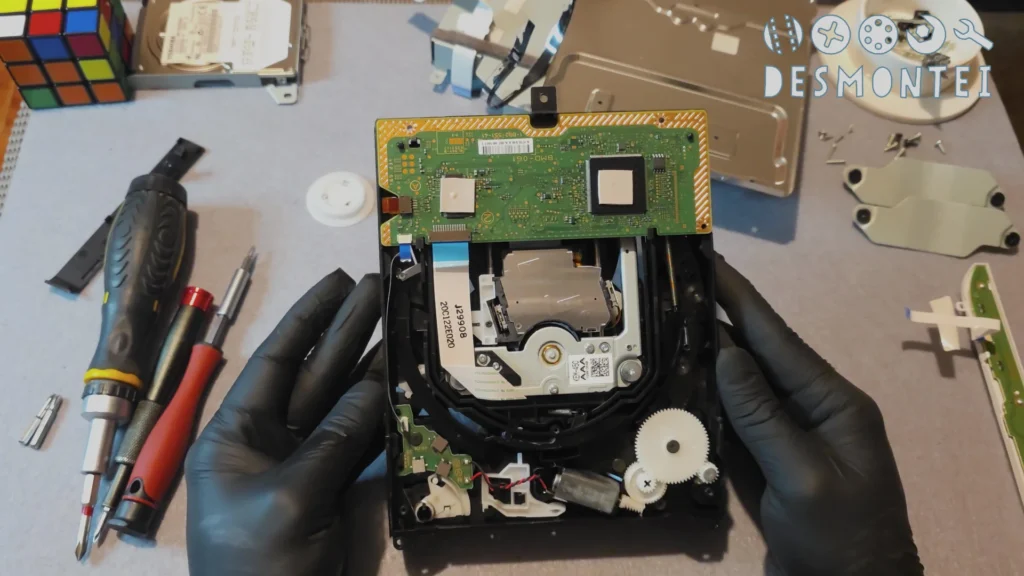
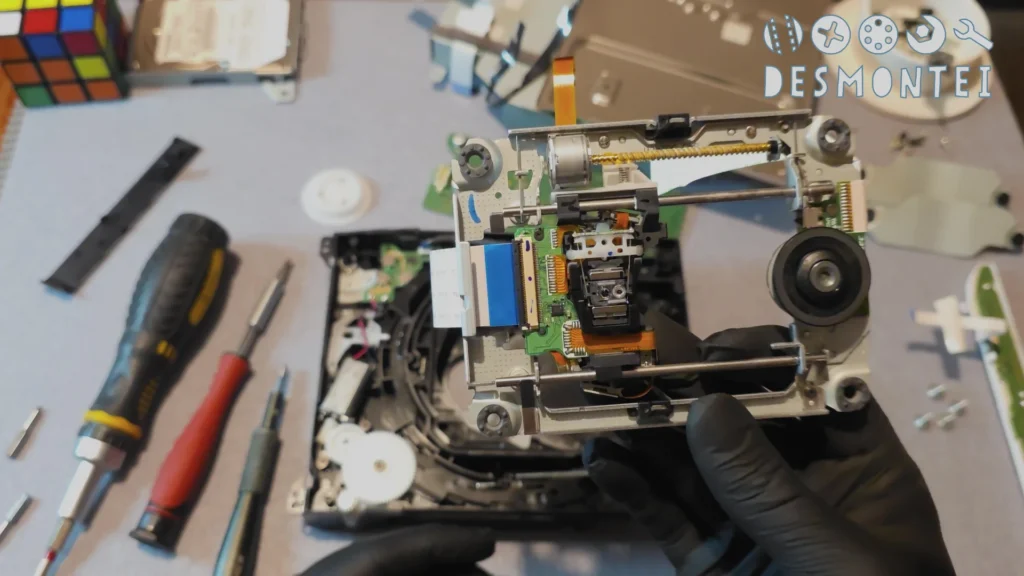
We removed the drive with the utmost care so as not to stretch any ribbon cables (if you tear one of these, you’re definitely losing money). To handle these fragile little cables, I always rely on my Precision Tweezers Set. Human fingers are just too thick for this!
Underneath the drive, the motherboard and the bottom shell still had that “just out of the box” look.
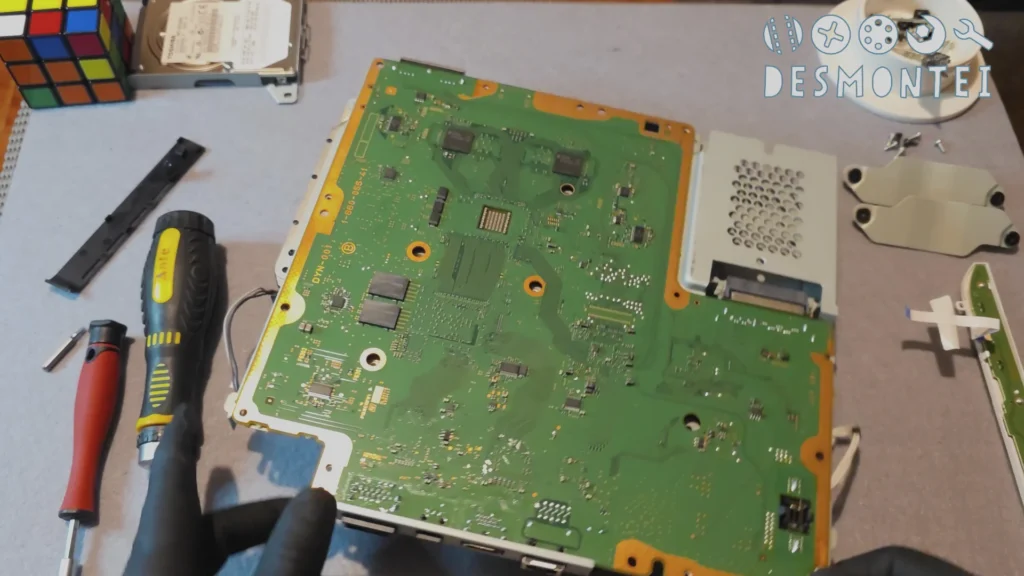
Step 4: Diagnosis and Cleaning of the Optical Drive Lens
Now we enter the “black box”. The PS3 Slim drive isn’t just a game reader; it’s a complex Swiss mechanism that manages the intake and ejection of CDs, DVDs, and Blu-rays.
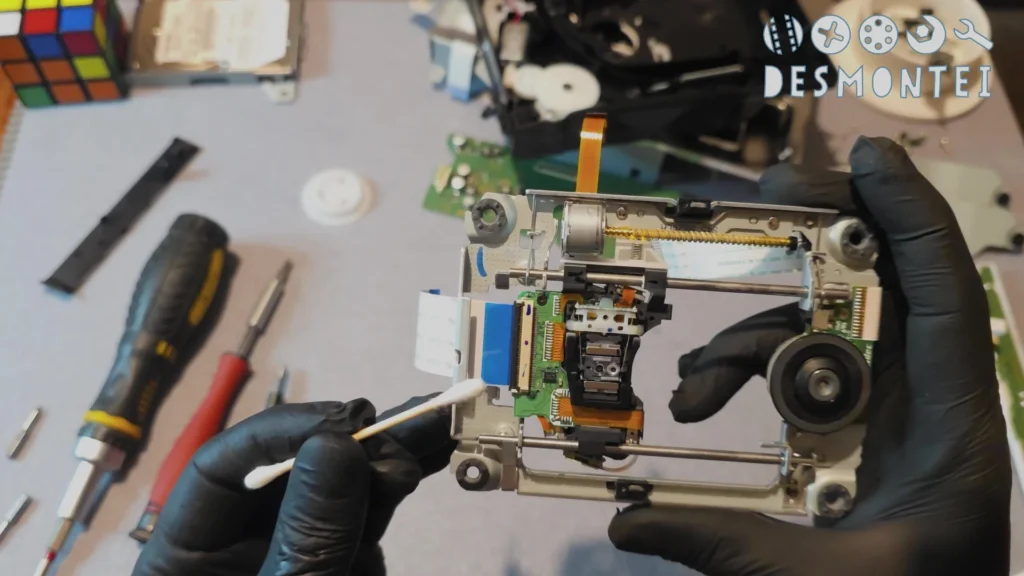
To access the optical assembly (the famous KEM-450 laser lens), we removed the shielded metal cover. With the two lenses exposed (one for CD/DVD and one for Blu-ray), we did the standard procedure: an extremely delicate cleaning using a Q-tip slightly moistened with Isopropyl Alcohol.
The goal of this cleaning is to remove any fog of grease, moisture, or smoke that prevents the light beam from reading the microscopic tracks on the disc.
The Final Verdict: Was it worth opening?
After reassembling all the parts (with no magic screws left over, of course) and facing a minor scare where the console didn’t output video because I forgot to plug in the HDD, we did the ultimate test with an original disc.
Unfortunately, the defect persisted: the optical lens really “died” and the entire part will need to be replaced.
Not every teardown ends in an immediate fix and a happy ending. But here at Desmontei, we value the knowledge gained. Opening the console allowed us to understand that the machine is in perfect condition, with no overheating, guaranteeing that it is worth investing in replacing the optical component.
Cost Comparison:
| Action | Estimated Cost |
|---|---|
| At-Home Cleaning (DIY) | R$ 0 (if you have the Screwdriver Kit) |
| Replacing the Optical Lens (New Part) | Approx. R$ 180 – R$ 250 |
| Buying a Used PS3 | R$ 600 – R$ 900 (with the risk of having the same defect) |
Conclusion and Next Steps
The PS3 Slim is a warrior of a machine and the best version of the 7th generation, but time is unforgiving to the fragile optical components of Blu-ray drives.
If your console stopped reading discs, the first step is to open it up and try cleaning it (now you know how to do it without breaking the plastics). If that doesn’t solve it, the diagnosis is certain: order a new laser lens online and swap it out.
Let’s hit the Official Desmontei Workbench!
Have you ever seen the inside of this Sony giant, or are you afraid to open your consoles because of 10-year-old “warranty seals”? 😂 Leave your comment below!
And don’t forget to follow our crazy projects and electronic rescues:
- 🔴 YouTube: Subscribe to watch this full video!
- 📸 Instagram: @eudesmontei (For behind-the-scenes of our repairs)
- 💻 Reddit Community: r/Desmontei
Until the next teardown, and keep your tools sharp! I’m out! 🔧🚀